GbbOptimizer ↔ Modbus RTU proxy for off-the-shelf ESP32 RS485 boards
Pick your board, connect it over USB and click Install to flash the latest
firmware straight from your browser (Chrome or Edge required).
Each board comes in two firmware flavours:
Factory Image (default) — the standalone
GbbDongle product. No Home Assistant integration; the web dashboard
and firmware uploads are protected by a password
(default admin / admin, changeable
on the device's web page).
Home Assistant-compatible — exposes the ESPHome
native API and offers itself for adoption in the ESPHome dashboard.
After adoption you build and maintain your own configuration
(bring your own support).
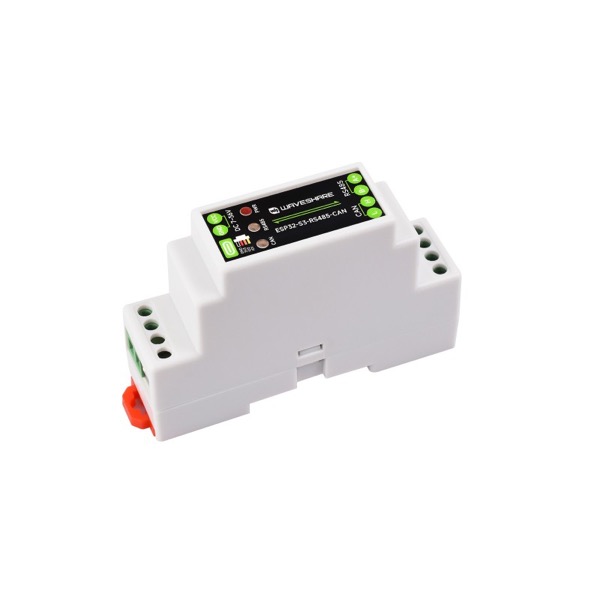
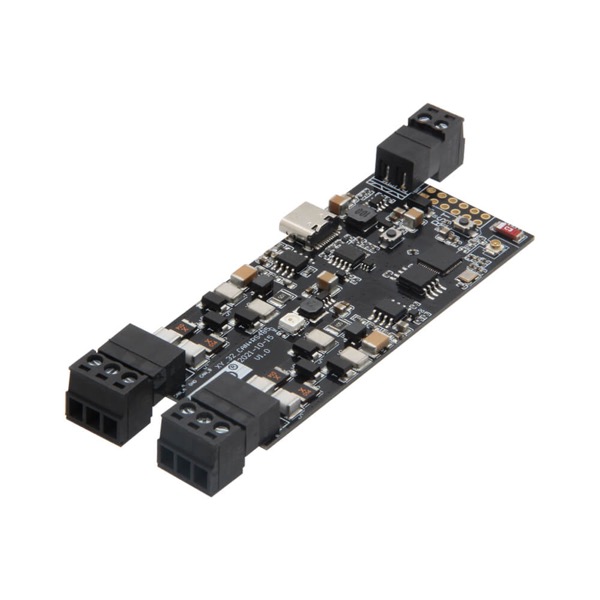
Waveshare ESP32-S3-RS485-CAN
ESP32-S3 · WiFi · BLE provisioning · isolated RS485
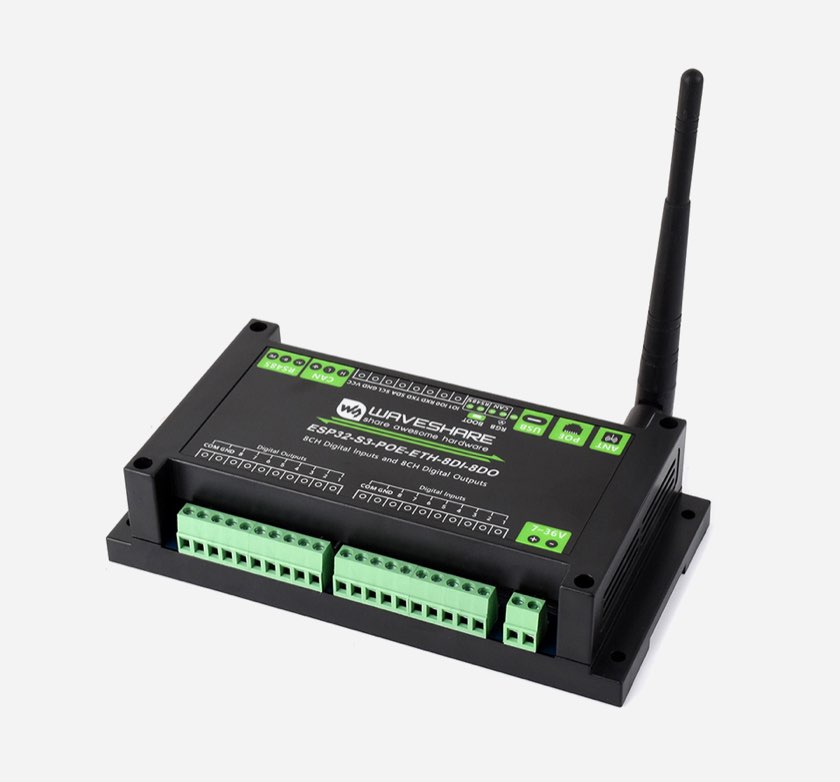
Waveshare ESP32-S3-POE-ETH-8DI-8DO (WiFi)
ESP32-S3 · WiFi · BLE provisioning · isolated RS485 (auto-direction)
WiFi needs the external SMA antenna attached (no onboard
antenna). For wired networking flash the Ethernet variant instead.
Join the GbbDongle Setup WiFi access point and configure your WiFi.
Open the device's web page (its IP address, shown in the captive portal).
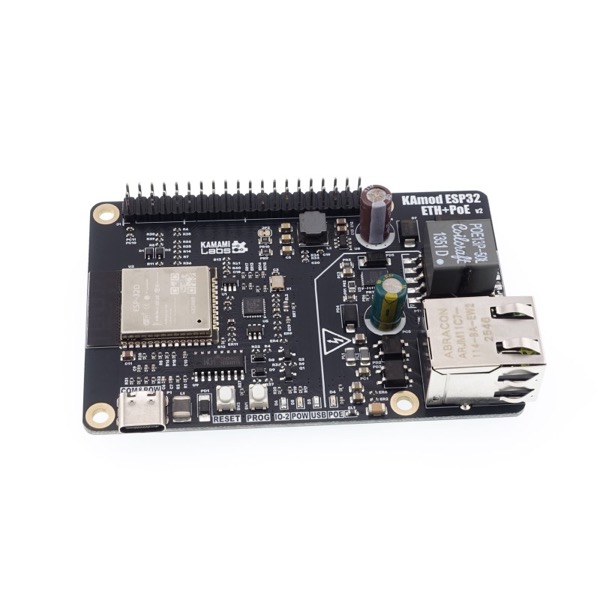
Kamami (Ethernet-only): unplug USB, mount the RS485 HAT,
plug in Ethernet (PoE or 5 V) — the device gets an address via
DHCP; open http://gbbdongle-kamami.local or its IP address
from your router.
Waveshare 8DI-8DO (Ethernet variant): plug in Ethernet
(PoE or USB/7–36 V power) — the device gets an address via
DHCP; open http://gbbdongle-8di8do-eth.local or its IP address
from your router.
Then, on the device's web page:
Factory Image only: log in with
admin / admin and set your own
password in the Admin Password field (it also protects
firmware uploads).
Fill in MQTT Server, Plant Id and Plant Token from your GbbOptimizer account.
Press Apply Settings (Restart).
Wire RS485 A/B to your inverter's Modbus port.
Home Assistant-compatible image: the device shows up as
Discovered in the ESPHome dashboard next to your Home Assistant
— click Adopt (or add it to Home Assistant directly; the
API encryption key is generated on first connection). After adoption the
configuration is compiled by your own ESPHome dashboard.